
Well, of course the powder room reno didn’t go as planned. That would’ve been too smooth! What should have taken a couple of days, stretched over TWELVE from start to finish.
We still have to prep the cabinets for painting (including finalizing the color!), but I’m sharing progress close-ups and a few lessons learned for you here.
the leak
Step one of the reno was removing the existing sink and countertop (and that old thing did not come out easily). A couple of days later my love goes downstairs, and with the house still quiet, hears a faint whispering sound. Turns out a pool of water was forming on the bottom of our open vanity...and leaking down into our basement below! The pipes weren’t capped after the demo and water was slowly coming out the top. Was it likely due to the rainstorm that occurred the night before? Maybe. The takeaway is to get your contractor to cap the pipes for the time between the demo and installation. (Still letting the basement insulation dry out before we close the case on this incident.)
the schedule
Step two was the sink and countertop installation. Because we scheduled our sink install a couple of months out, I checked with our vendor two weeks before to ensure we were still good to go. I was told we were.
We weren’t.
A scheduling oversight on their end pushed everything back a day. Incredibly. Frustrating. My contractor’s crew was also left in the dark and made to rework their plans, which I felt bad about even though it wasn’t my fault. Argh!
One day may not seem like a big deal, but we had already planned a Friday-Sunday getaway (the first family escape in almost two years!!). Meaning the patch-and-repair work would have to be continued into the following week.
So, my friends, when your contractor says you’ll have a functional sink the same day it’s installed, be sure to ask how long the patchwork will take. Likely it will depend on what’s being removed. Because we opted not to replace the old side splash with new, it took a fair number of spackle-dry-sand rounds to get the wall ready for paint. That’s where the time (and money) goes. Patience is a virtue!
the progress
Step three was celebrating the progress as it came. Fully functional sink intact? Check. Countertop that’s soft and calming to the eye? Nailed it! So we had to go a while without lights and a mirror. As someone who doesn’t like ends left loose, I was probably the only one chomping at the bit to complete the work.
Once those two pieces were installed, wow. Totally new feeling space! I found an amazing deal on cabinet hardware to round out the style and help confirm that, yes, I want to paint the cabinets, but not in the color I showed before!
Painting is on my DIY list, so this project is still in progress. And that’s okay and what’s important to keep in mind. It has improved so much so far, and I’ve got the momentum to finish it off.
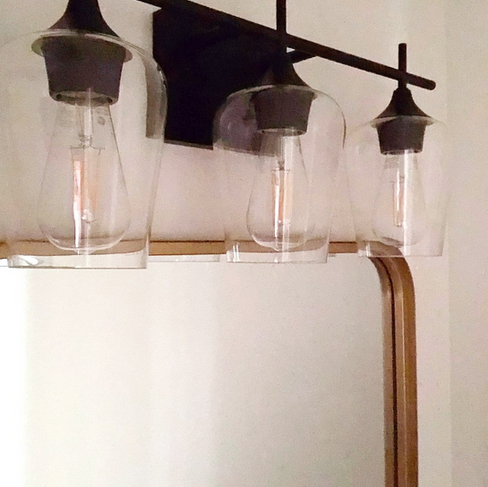
Until that happens, here are a few detail shots of the new finishes and links to where I sourced them.


source links
Mirror / Threshold+Studio McGee
any guesses on the new cabinet color?
Comment below and let me know what you think of the progress!
Always,

コメント